EndNote referencing software: ADD References
Adding references to your EndNote Library
There are a number of different ways to add references to your EndNote Desktop Library.
The most efficient and effective is to direct export references from an existing library catalogue (OneSearch) or from a database (e.g. Scopus, ProQuest or Web of Science etc.). These exported records can then be imported into your EndNote Library. You can choose to export and then import individual or multiple references.
It is also possible to import references from a search engine such as Google Scholar or from a collection of journal article PDFs you may have saved into a folder on your desktop - but only if the PDFs have been given a DOI (Digital Object Identifier).
Finally, you can also add references directly within EndNote either by manually typing in a reference (for those tricky formats that you cannot find a citation to export) or by searching databases from within EndNote using connection files.
See each of the FAQ’s in this section for advice on these different methods for adding references to your EndNote Desktop Library.
Tip: Only add references that directly relate to your learning or research interests to keep your Library relevant and manageable.
Getting ready to add references
Your EndNote Library can become your personalised record of important resources and research findings that are of relevance to your study interests.
Use it throughout your studies to collect and organise all of the articles, books, websites, diagrams, videos, podcasts – everything you have consulted to develop your thinking and write up your thoughts.
Tip: Don’t add everything you find into your library, just those things that are relevant to your learning.
- Become familiar with the layout of an EndNote 20 Library. [PDF]
- Find out about some key feature of the new Interface Design [Video 00:23 to 00:48)
Let’s get started by creating your first EndNote Library
- View How to create an EndNote Library and guidance on where to save your library [Video 08:45 to 14:35].
- See also In action: Endnote 20 (Windows) Library Creation [Video 35s]
Tip: Do not save active libraries to local sync folders - such as OneDrive - this will likely result in the corruption of your EndNote Library. Always save your library to a local folder, not a synced folder. See the tab SHARE & Backup for more information.
ACTIVITY: Creating an EndNote library
- Search for EndNote in your Start menu and click on the app.
 (For Mac users go to Applications)
 - Navigate to FILE-> NEW and check that the SAVE AS TYPE is set to ENDNOTE LIBRARY (*.enl).
- Name the .enl file and navigate to where you would like to save it (eg Documents) and click SAVE.
- You will see the EndNote 20 empty library ready for you to add references.
![]()
Importing References to EndNote
General Principles
Most modern library catalogues or database platforms will offer some ways in which you can export a list of selected references into a file type that can then be directly imported into an EndNote Library.
The most common export file type used within EndNote is called a .RIS (Reference Manager) file. Sometimes the export button given in a database will say RIS, sometimes it refers to the reference software package itself. OneSearch and several other database platforms use the .RIS file for their direct export options.

Example export options within ProQuest Database (2021)
Other sources might use a different file type - such as a .CIW file used by Web of Science, or a .ENW used by Google Scholar, but they essentially work in the same way.
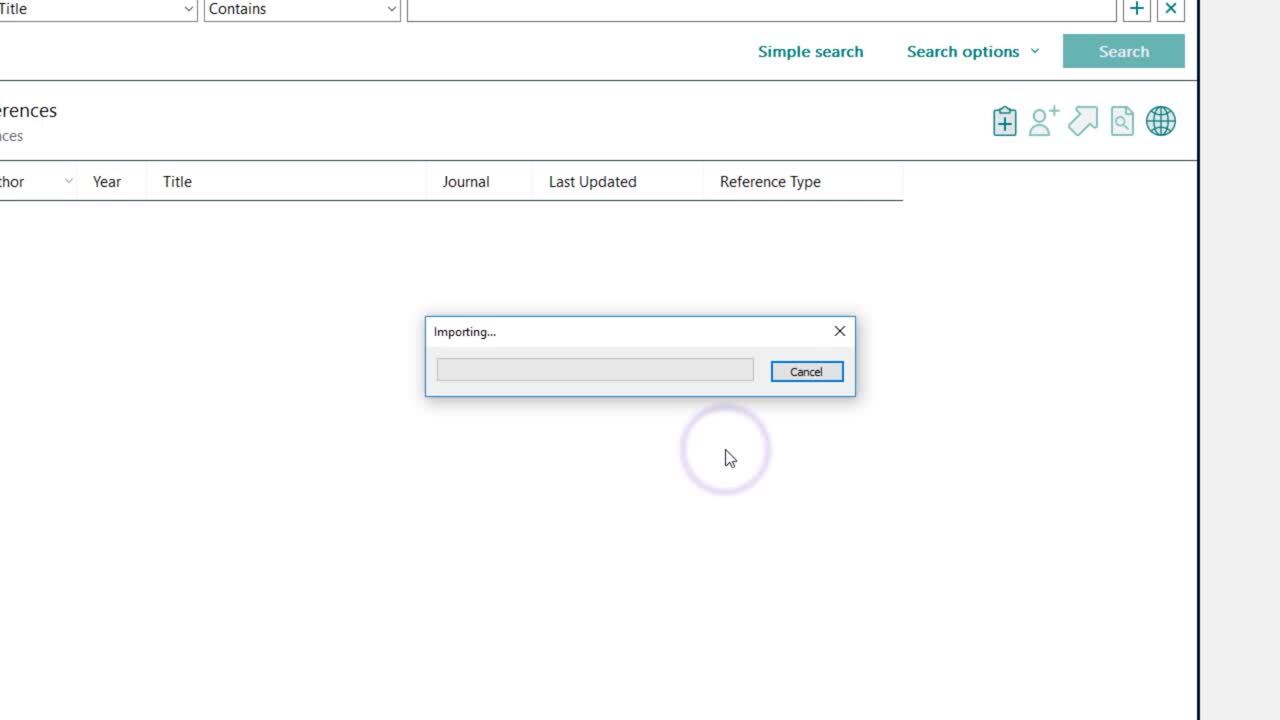
If your EndNote Library is open, these exported citation files will generally automatically import into EndNote. If for some reason they do not automatically import you can locate the file in your ‘Downloads’ folder and initiate the import into your EndNote Library by double-clicking on it.
If the file does not automatically import into your EndNote Library you can choose to use the Import file from within EndNote option. See the Troubleshoot import tab for details.
If for some reason the exported file does not automatically import - or import on opening - into your EndNote Library there is this alternative method you can use from within the EndNote software.
|
 |

You can create a manual entry for any references that are unusual or difficult to find an existing citation that you can export from a database.
To manually add a new reference to an open library, follow the steps below:
|
Correction Tips: Author Field
Organization, W. H. (2021). Response to Covid19. JAMA, 342(2), 45.
World Health Organization. (2021). Response to Covid19. JAMA, 342(2), 45.
|
How to add references from OneSearch
OneSearch is the UWA Library Catalogue. It includes all of the resources we subscribe to or purchase to support your studies so it’s always a good place to start your search for information.
This section will take you through how you import individual or multiple references from the OneSearch catalogue search screen or from your OneSearch "My Favourites" area.
You can export an individual item from OneSearch to your Endnote Desktop library.
This video will show you the main steps:
Notes and advice:- Always begin by making sure the Endnote Library you want to import the reference into is open.
- The OneSearch file name will be "Primo RIS Export". You will find it in your downloads file.
- Double clicking on it should open it within EndNote if the import does not start automatically.
- References you have just imported will appear together in a temporary "imported references' folder.
Note: Remember to check all references, as they often require editing to conform with your chosen referencing style.
It's also possible to select and send multiple references from OneSearch to your EndNote Library.
- Begin by selecting individual items from your search results or from your "SAVED ITEMS" area in your personal "My Favourites" area.
- Once items are selected go to the ellipses above your search results or next to "My Favourites".
- You will find the ENDNOTE/MENDELEY (RIS) as one of your download options.
- Select the Download button to create a Primo_RIS_Export file that will this time include the multiple references selected.
- Follow the instructions as per the individual export/import of a OneSearch item. Remember to check the quality of your references.
Note: Your "My Favourites" area is available to you when you log into OneSearch using your PHEME credentials. It is possible to 'tag' items in you have saved and then choose to export a tagged selection, see Using OneSearch for more information.
Records from OneSearch should be checked in particular to ensure:
- Authors and editors have been imported into the correct fields and possible duplication
- Corporate authors have the comma added at the end of the organisation name, eg Australian Bureau of Statistics, otherwise it will display like this - Statistics, A. B. o.
- Book and ebook chapters have been identified as such and book chapter details added
- Edition numbers have been included
- Correct formatting of retrieval statements such as DOI or website
Although exporting references from a search catalogue such as OneSearch will help you to partially construct the references you are ultimately responsible for making sure they are correct. Always check them against the style and ensure all the required elements are included, updating the fields in EndNote as required to make corrections.
How to add references from databases
Importing your references from a database is one of the easiest ways to add references to your EndNote Library. We have provided here examples from two of the biggest databases - Web of Science and Scopus but most database platforms will provide a way you can direct export.
It is preferable to import your references from the database that provided the full-text version. This is because for some referencing styles you may need to include the name of the source database in your citation. This is generally when the information is owned by the database provider of if a journal article does not have a DOI (Digital Object Identifier)
See our Referencing Style guides for details.
This database specialises in providing citation data so you can search the network of researchers interested in specific topics.
As Web of Science is another Clarivate product it has been developed to work seamlessly with EndNote. View their “Direct Export from Web of Science” video [1m27s] for a demonstration of how to select references to send to an export file and have these import to your EndNote Library (note there is no audio in the 'InAction' video series).
|
Notes:
Tip: Use the 'tick' selection boxes or set up personal folders within a database to be selective in which records you export. |
Scopus is a citation search database that helps you to uncover the network of researchers interested in specific topics, in addition to more traditional search functions.
In this example of the direct export of references from Scopus we are using the set up of 'personal folder' to which reference records have previously been saved. Most databases allow you to set up a personal folder area you can use as a first filter of possible relevant references.
You may find that all of the references you have imported are missing the same detail - such as the name of the database or the retrieval date if required by your style. Or it could be you need to move a field's content to another field in order to correct the output of a citation.
You can do any of these actions and any other re-arranging or additions to your EndNote record fields using the handy 'Change/Move/Copy' function.
This short In action (47s) video will show you how.
 |
Other methods for importing references
Although importing from catalogues and databases are some of the most efficient ways to populate your EndNote Library you may at times need to use these other methods.
The manual method is important for when you can't find an existing citation to export - this may be for instance for websites, audio-visual materials, or for rare, very old, or unusual references.
View the Clarivate In action: “EndNote 20 (Windows) create a new reference” video [1m20s] for a demonstration (note there is no audio).
 |
|
Here are some things to note and tips:
|
If you have been busily saving relevant journal article PDF's to a folder on your computer, you may be able to get EndNote to import references from these.
In order to successfully do so the articles need to include a DOI number - that is a Digital Object Identifier. These only started to be applied to published articles around 2000 so this method of import will only work for more recently published articles.
 |
|
Here are some things to note and tips:
|
It's also possible to directly search an external database from within EndNote and directly import references found.
View this segment of the introductory EndNote in 7 mins (01:33 to 2:52) to learn how to use this method:
|
General tips and advice:
|
Follow these steps to import a single item from Google Scholar. It is not possible to import multiple items.
The quality of Google Scholar citations is usually quite poor and so needs to be checked and corrected in your library.
1. Go to Google Scholar http://scholar.google.com
2. Conduct your search.
3. Click on the IMPORT INTO ENDNOTE link for the reference you would like to save to your EndNote library.
4. A temporary EndNote Import File will appear in your downloads folder. Double click on this file which will then open in your EndNote library into Imported References. If asked if you wish to Open or Save, click on OPEN.

Setting up the Import into EndNote option
It may be necessary to set up Google Scholar’s preferences to set EndNote as the preferred Bibliography manager to see the Import Into EndNote option.
- Click on the
 top left of the screen, then SETTINGS COG:
- Under BIBLIOGRAPHY MANAGER, select Show links to import citations into and choose ENDNOTE:

Quality check
Some EndNote Online and Google Scholar citation imports can be very poor quality, for example, the volume number for a journal article may be missing or the journal-title may have incorrect capitalisation or be abbreviated or not all authors included in the reference.
It's important to view the "imported references" from these sources, in particular, to check for missing elements.
One option you can use to try to improve the quality of references imported from a poor source is to use the EndNote "FIND REFERENCE UPDATES". View this video for the main steps.
 |
|
Further advice and tips:
|
Tip:
CONTENT LICENCE
 Except for logos, Canva designs or where otherwise indicated, content in this guide is licensed under a Creative Commons Attribution-ShareAlike 4.0 International Licence.

Staff & Students
The University of Western Australia
PRV12169, Australian University